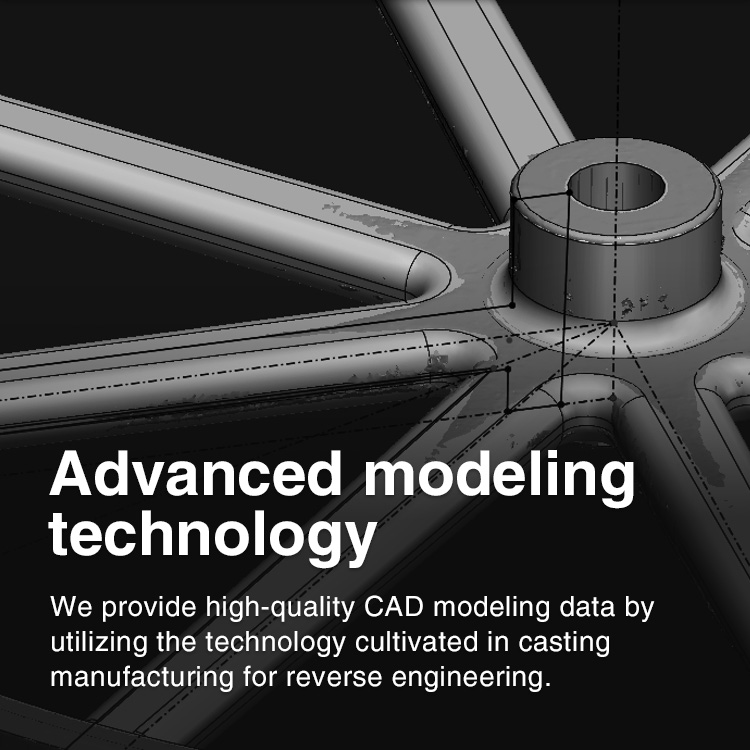
3D modeling and drawing by 3D scanned data,
Reverse engineering - to make the shapes without drawings.
Reverse engineering to read the products and mockup, clay model with a 3D scanner and convert the obtained point cloud data into 3D CAD data.
It can be used for a wide range of purposes such as equipment rehabilitation, product/design verification, and prototype/design data verification.
We provide one-stop service from reverse engineering to casting production, machining, and finish painting.
What is the service of KIMURA’s Reverse Engineering?
- To provide 3D data in the same shape of the actual product.
- To provide iron castings on the same shape of the actual product.
- It can be used for structural analysis.
- To collate the product with the drawing.
- 3D data of wooden patterns, molds, sand molds can be converted to eliminate the warehouse of wooden patterns.
- Save artworks and cultural assets by 3D data.
- Reflect the craftsman’s technology into 3D data.
- Convert 3D data of a part of a person and body.
Strength of KIMURA’s Reverse Engineering

Solid Modeling
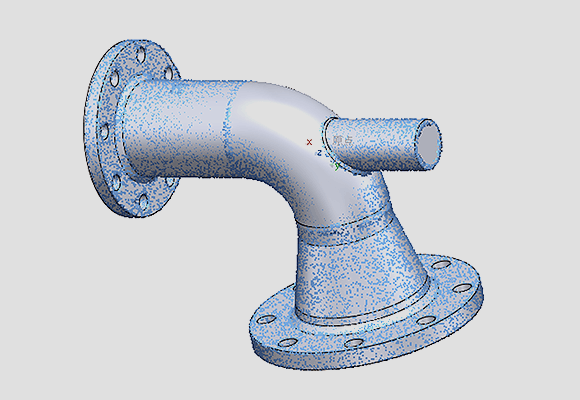
- Convert the scanned STL data to 3D CAD data.
- Create drawing by 3D CAD data.
- Convert 3D CAD data for wooden patterns, molds, sand molds which need to be stored.
- Save artworks, cultural assets, crafts made by craftsmen in 3D data.
- Convert 3D data of a part of a person and body.
Casting Production
- We can make casting by 3D data.
- We can machine and do finish painting by a wide range of applications.
Scanning
- Shoot with GOM’s ATOS and HEXAGON handy scanner.
ATOS has various models such as Triple Scan/Compact Scan/Core500/Core300.
Measurement by traveling
- We measure the objects which cannot be moved, takes much transportation costs
Others
- We can make a foam model and mockup by 3D CAD data.
Delivery Process
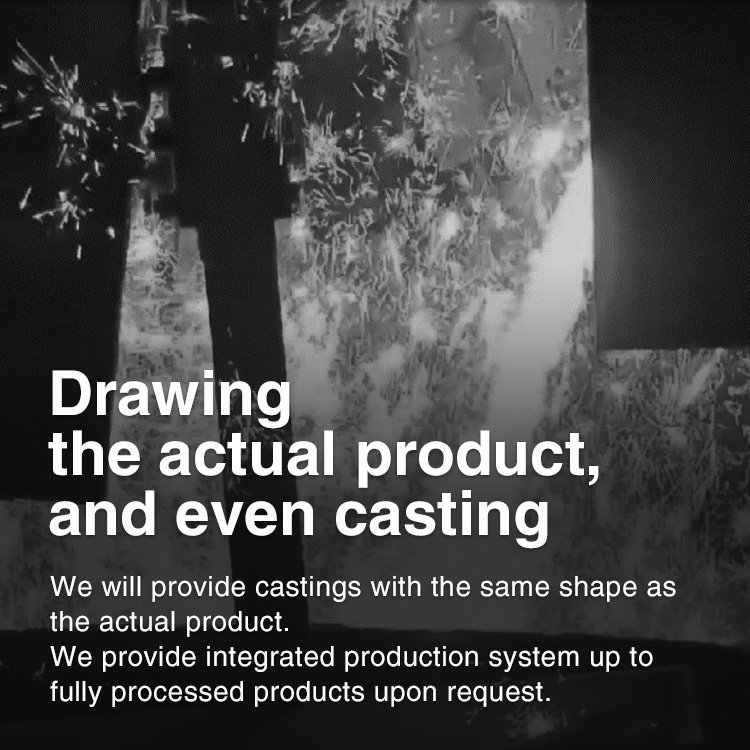
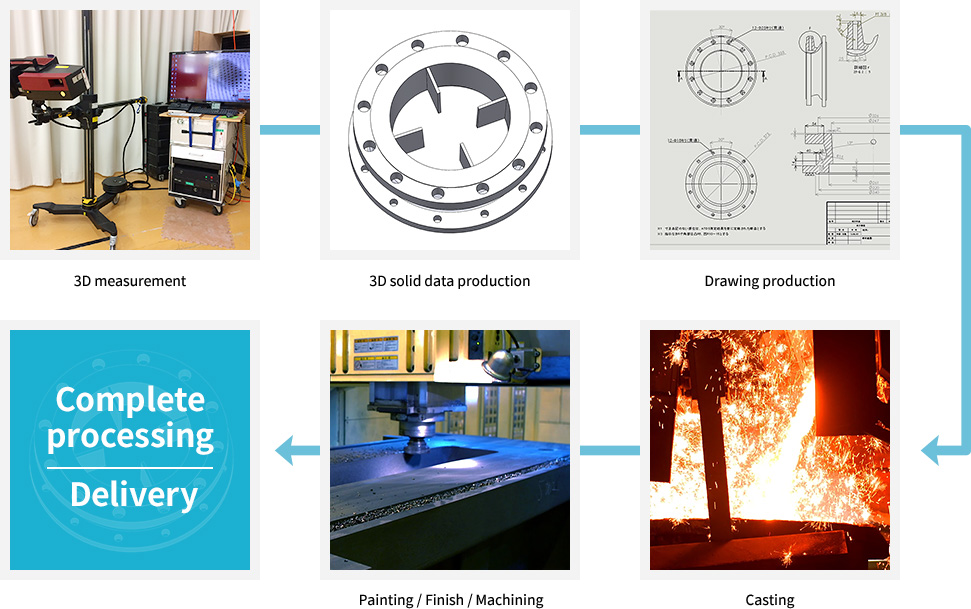
We provide castings in the same shape of the actual product.
We can provide the products by our integrated manufacturing system; modeling ~ casting ~ final machining.
Also, we can produce the products by nylon resin and a 3D sand printing.
Example of utilization
Remanufacturing of discontinued parts
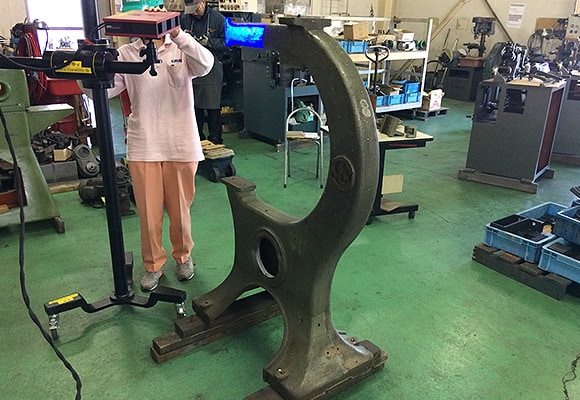
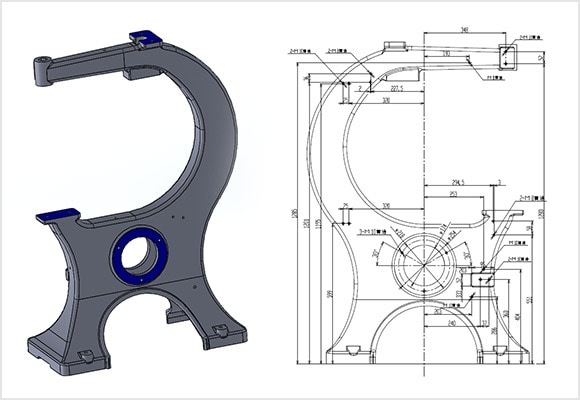
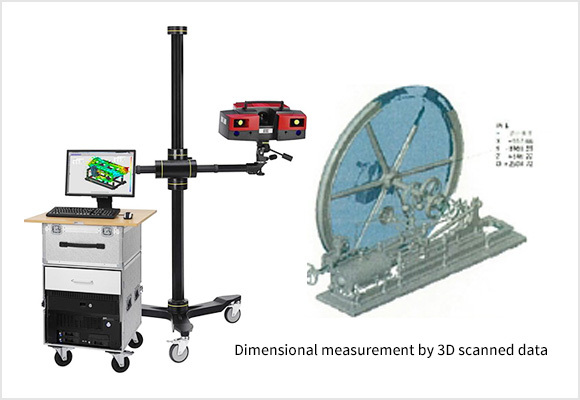
We measured the parts of the band-saw for woodwork which were discontinued and became difficult to purchase by ATOS, and created 3D CAD data and drawing.
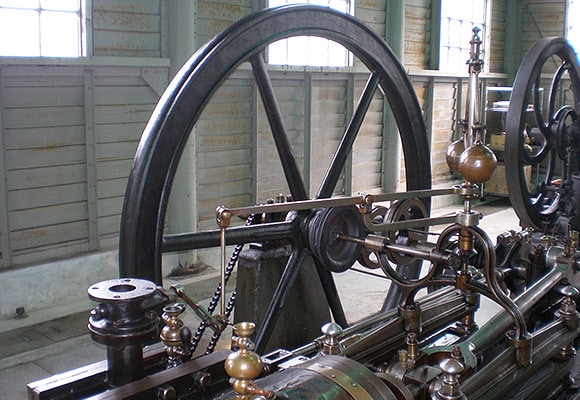
“World Heritage” Regeneration of Bruna Engine at Tomioka Silk Mill (Tomioka city, Gunma Prefecture)
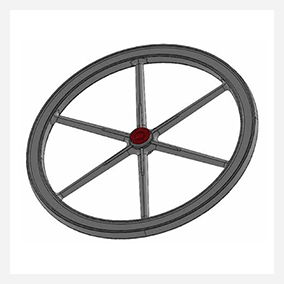
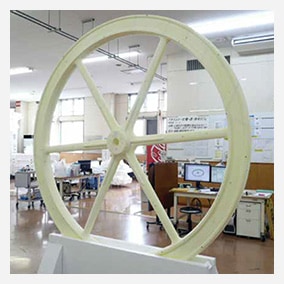
Kimura Foundry helped to restore Bruna Engine at Tomioka Silk Mil by the technology of Reverse Engineering. Create 3D CAD data and drawing by 3D scanning of original steam engine and produce the flywheel casting.
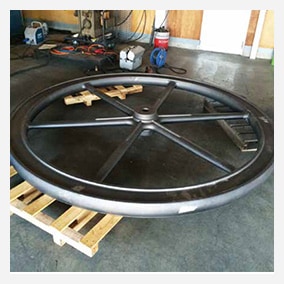
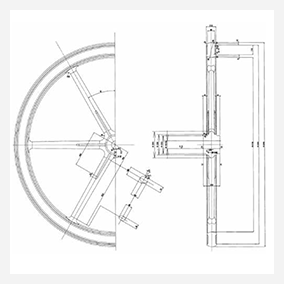
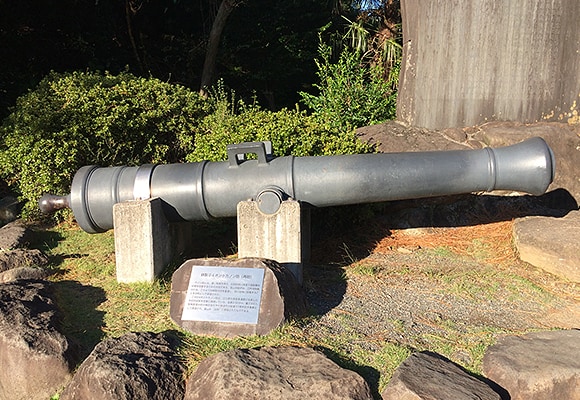
“World Heritage” Nirayama Reverberatory Furnace(Izunokuni, Shizuoka)”24 pound cannon”
We donated the casting”24 pound cannon” with a total length 3,500mm and a weight 3,500kg to the “World Heritage” Nirayama Reverberatory Furnace(Izunokuni, Shizuoka).
Create 3D CAD data based on the old drawing in Edo period and cast by utilizing the technology og Reverse Engineering.
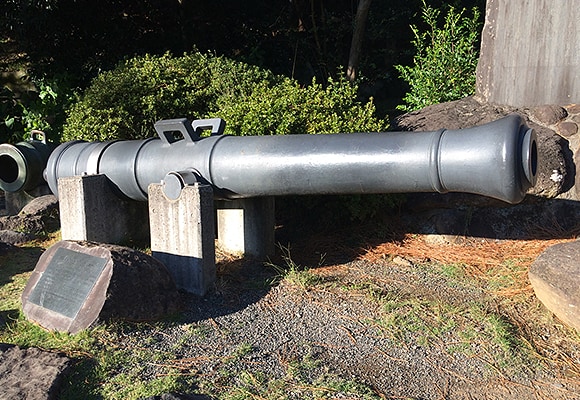
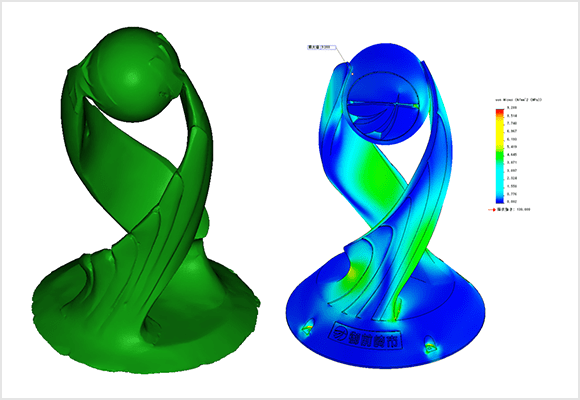
Structural analysis
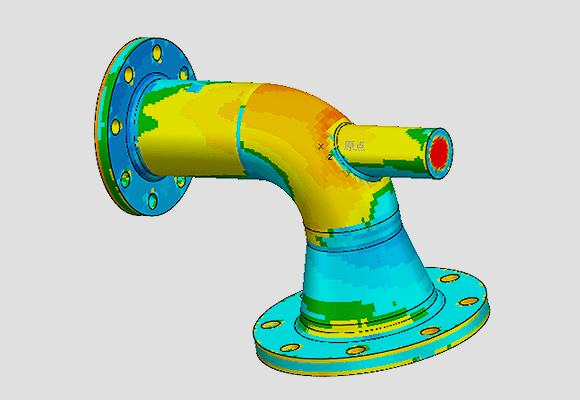
3D data can be used for the structural analysis.
The model is a cast iron monument donated in commemoration of the “10th anniversary of the municipal organization” in Omaezaki city, Shizuoka Prefecture.
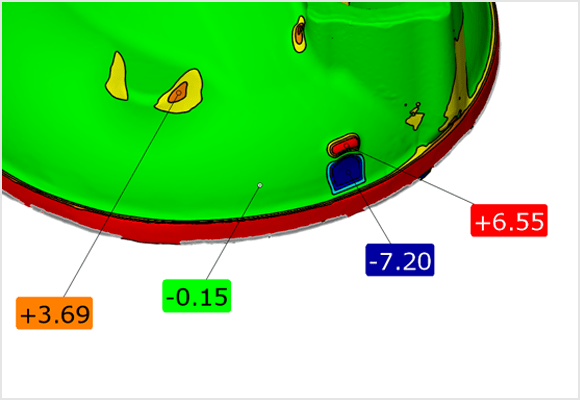
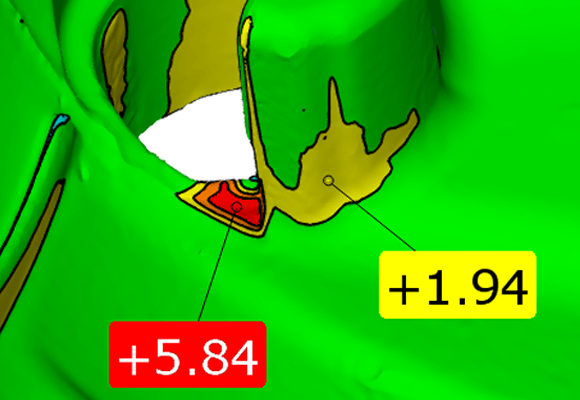
Collate products with drawings
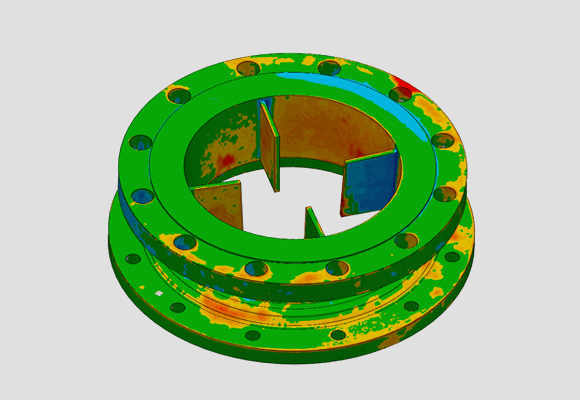
As an application of reverse engineering technology, completed products can be scanned by ATOS and collated with drawings and CAD data.
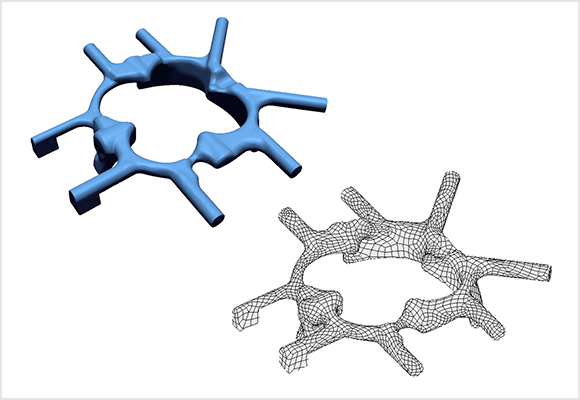
3D CAD data conversion of wooden pattern, sand mold, etc.
The mold is scanned for 3D modeling.
If you save the 3D CAD data as the mold, you can eliminate the mold and save the storage space.
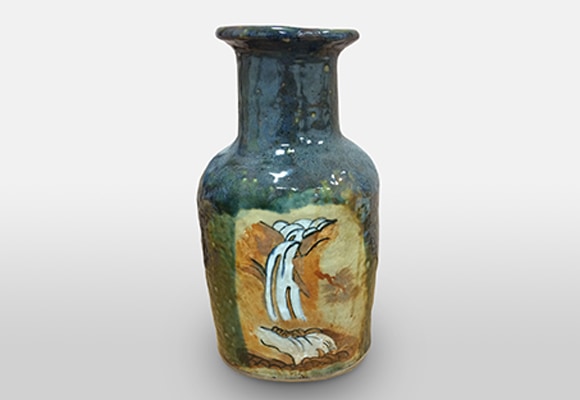
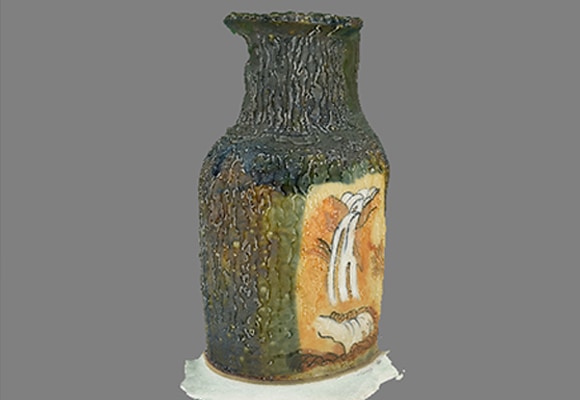
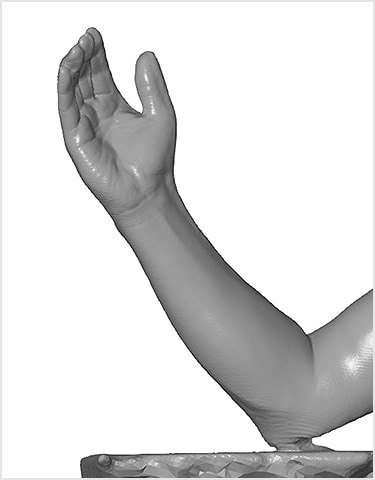
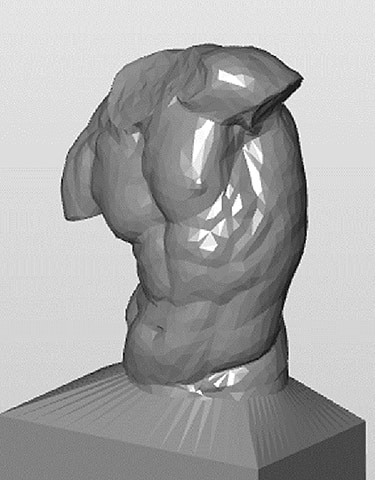
3D data of artwork
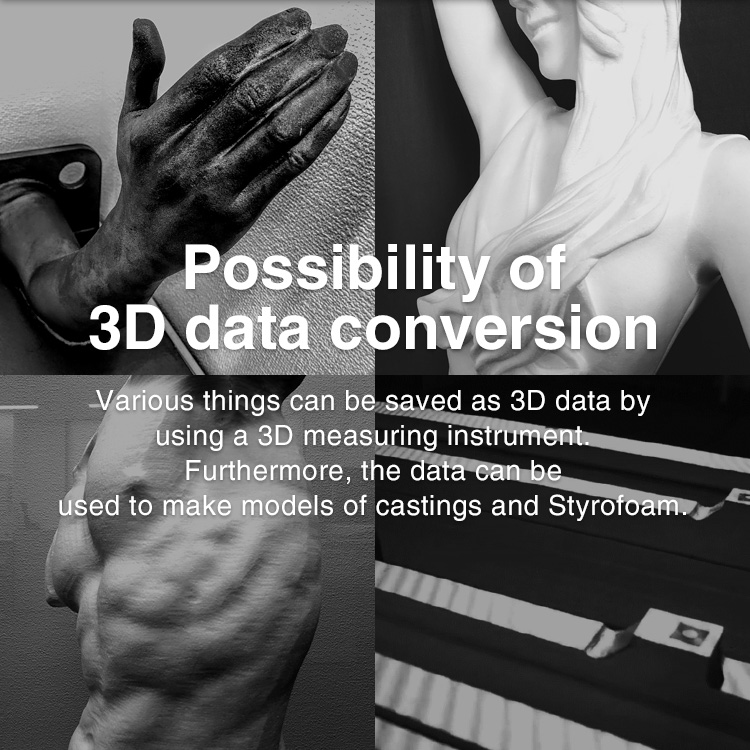
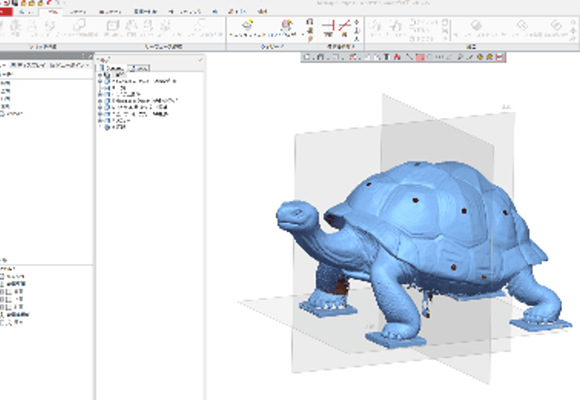
You can save artworks and cultural assets as 3D data with photo scan and handy scanner.
It is also possible to manufacture replicas of Styrofoam models, nylon resin models, cast iron and aluminum, etc., by 3D data.
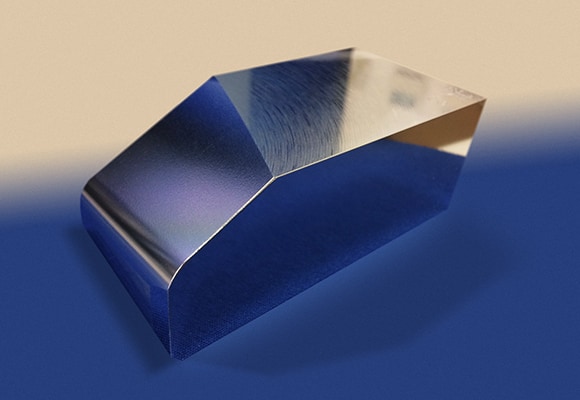
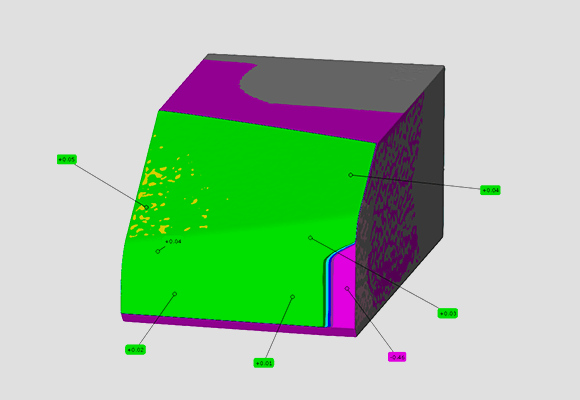
Accuracy check of steel material
Using a three-dimensional measuring machine that can obtain the shape with high accuracy, we can convert 3D CAD data of craftsmanship such as handwork and handwork of steel materials.
It can also be used to check the accuracy with the original shape.
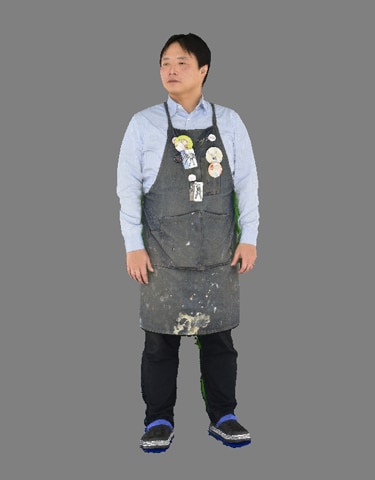
3D modeling of a person or body parts
We can shoot a person with a photo scan and handy scanner and it can be saved as 3D data.
We can also manufacture figures by Styrofoam and nylon resin.
Equipment
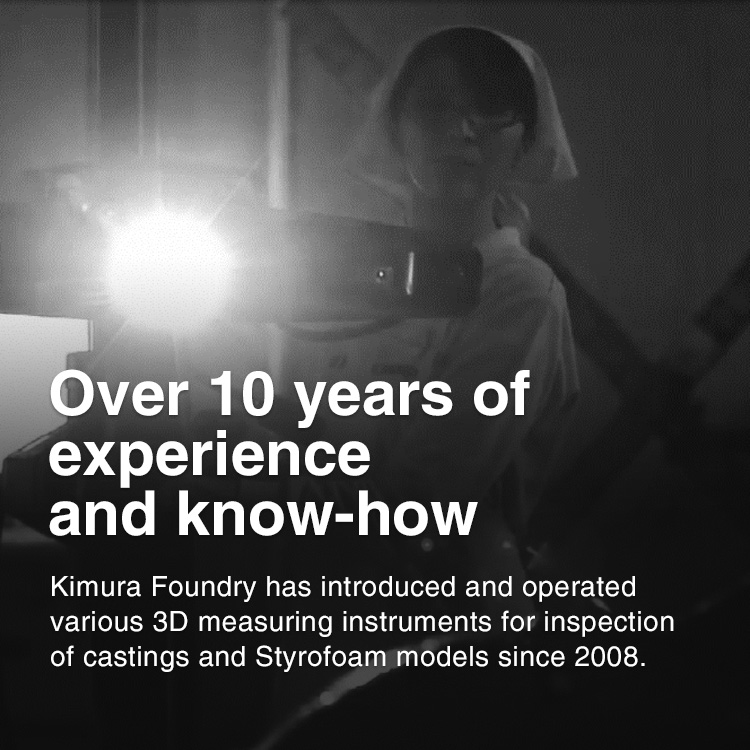
Since 2008, we have introduced and operated various three-dimensional measuring machines for the inspection of casting and Styrofoam model.
We can handle various sizes, shapes, materials, and quantities by our know-how over 10 years.
Select the most suitable equipment for your shooting products.
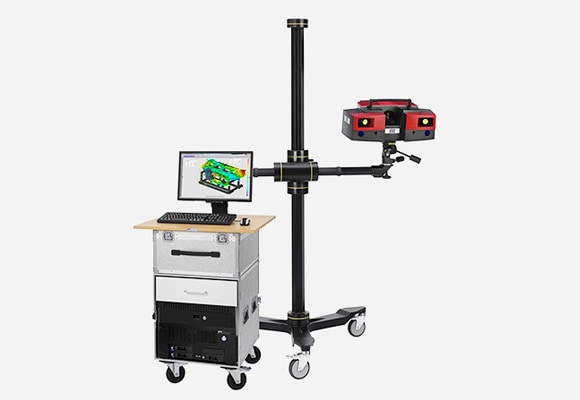
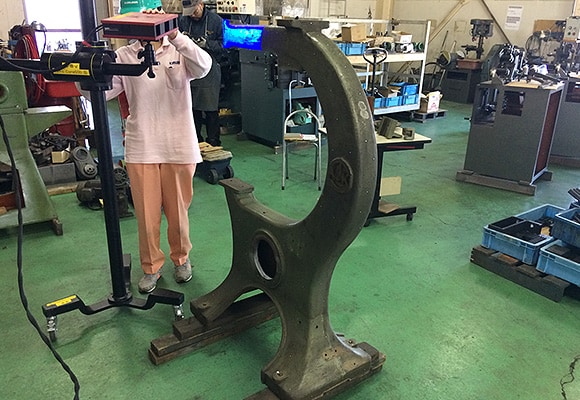
Scanning by ATOS
We have various ATOS such Core300,500/Compact 5M, 12M/ Triple scan, etc.
It is possible to measurement by traveling by Core, Compact 12M.
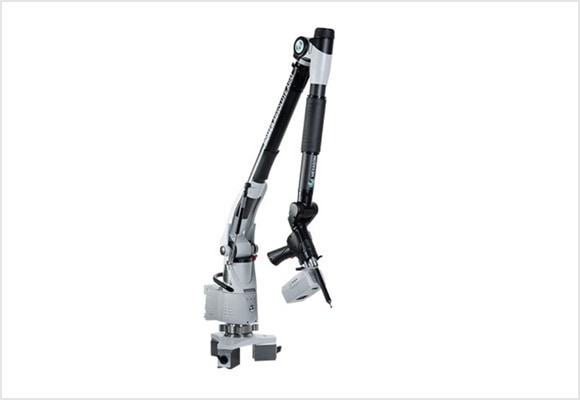
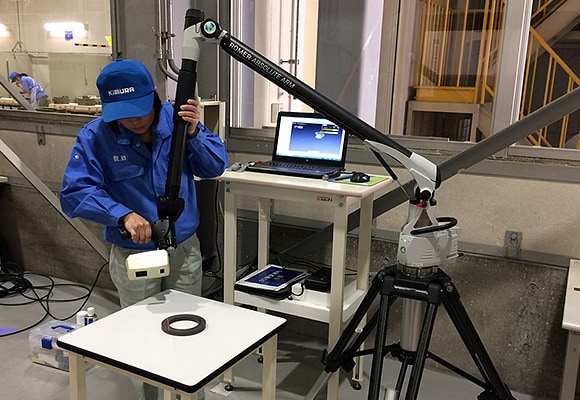
Scanning by HEXAGON (ROMER Absolutearm+HP-L20.8 7730SE)
It is a high-precision laser measuring device and it is possible to scan even glossy products.
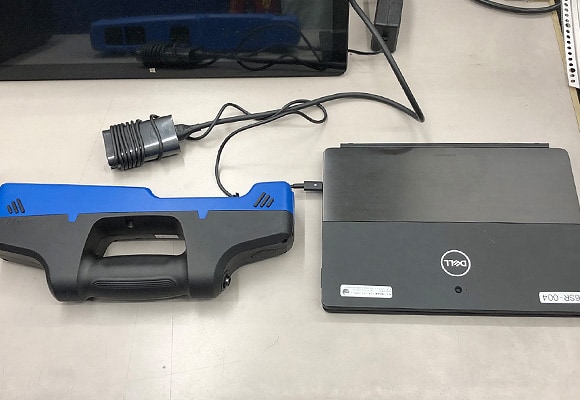
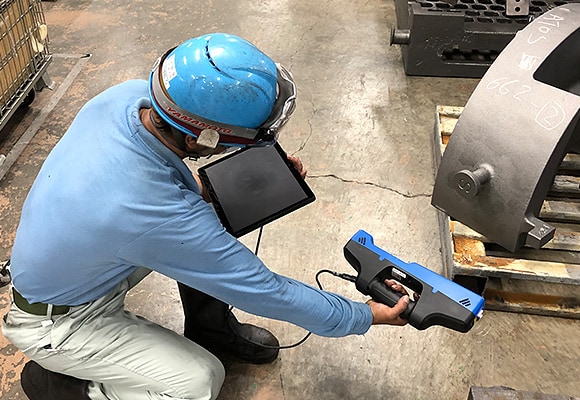
Scanning by a handy scanner (MANTIS F6 SMART)
It is possible to scan the things which can’t be scanned by ATOS such as artworks, parts of human body, foundry equipment, and cars with speedy shooting.
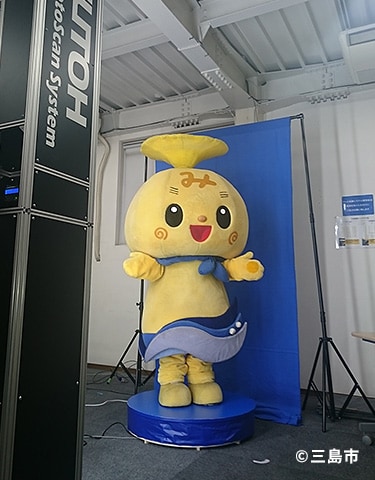
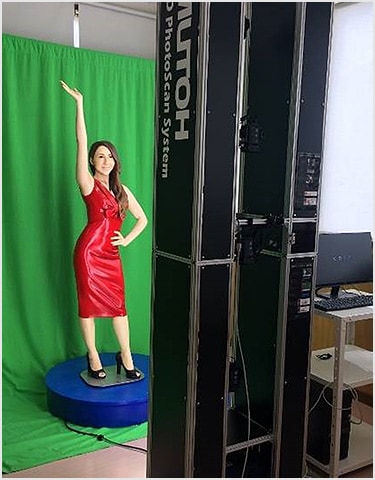
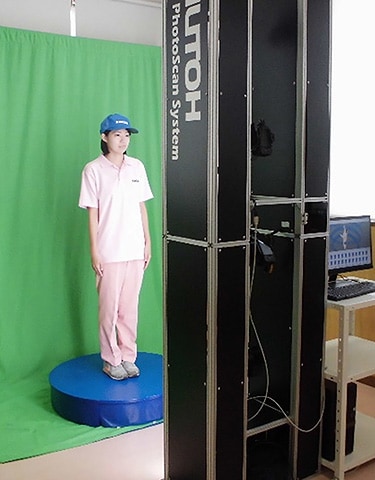
Scanning by photo scan (3D Photo Scan System by Mutoh Industries Ltd.)
Get on the rotating table and wait for 40 seconds per lap.
Take 50 pictures each 0.8 seconds by four cameras.
3D data is created by synthesizing a total of 200 photos.
It can be getting the color by scanning.
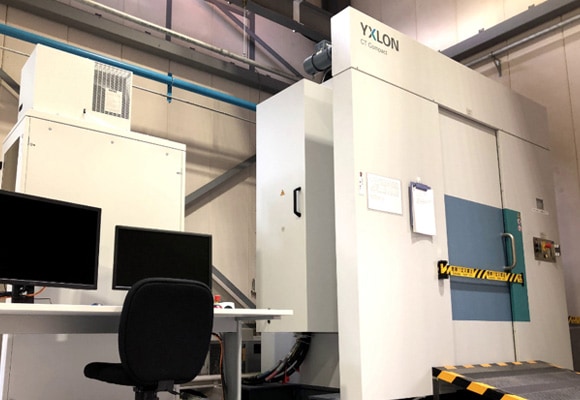
Shooting by CT scan (YXLON CT Compact)
The object with internal structure is taken by CT scan.
XYLON CT Compact can be measured with a various object.
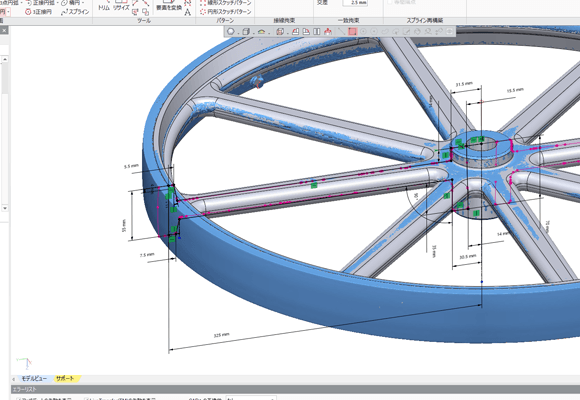
Data editing software
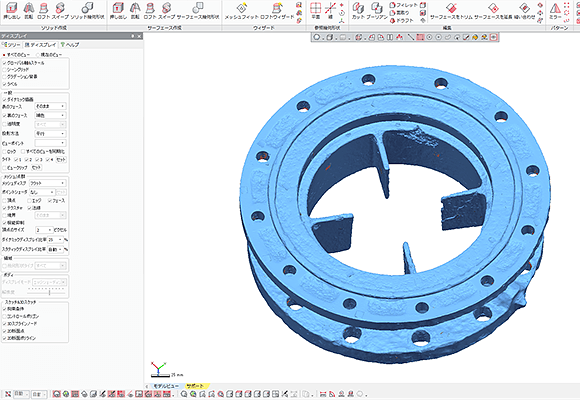
CAD/CAM technology cultivated for casting production is utilized for Reverse Engineering.
CAD modeling data can be created by high quality.
It can be also output in various data formats. Software: Geomagic Design X
Three-dimensional measuring devices
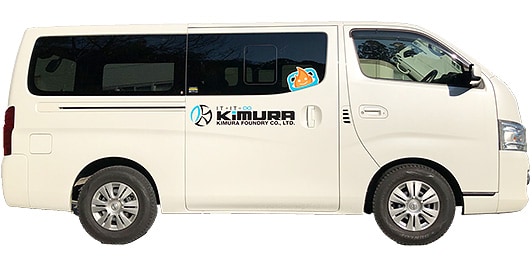
Measurement by traveling
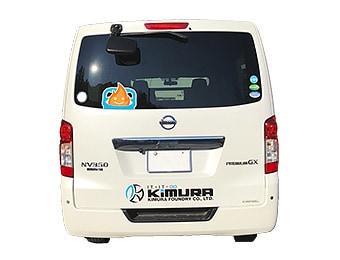
We measure the objects which cannot be moved, takes much transportation costs.
The equipment is GOM’s ATOS (core 500/compact 12M) and handy scanner.
Note for the shooting environment of measurement by traveling.
It is sensitive to humidity, temperature and illuminance changes.
Due to measure the shape by irradiating light, it is necessary to save a dark place where the lights can be turned off without direct sunlight.
When shooting outdoors, it will be taken at night, but it can’t be taken during rain.
It may not be able to shoot in places with temperature changes such as near refrigerator and a heating element.
It can’t measure in a vibrating place.
In area with heavy traffic such as roads and railroads next to the building, and frequent movements of cranes and forks, it isn’t possible to shoot due to vibrations of the shooting target or camera shake.
It is possible to shoot if the vibration subsides after passing the train, but it may take some time.
It is required the product size +3m A flat shooting place with a square.
Since the shooting equipment rotates around the product, a space that can be moved is required.
In case of the product size is 1t or less, it is possible to shoot if there is a place 3m away from the product since the product will be placed on a turntable and rotated.
*Shooting conditions differ for handy scanners. Please contact us for details.
Things that cannot be measured three-dimensionally with ATOS.
The part that can’t be seen by the left and right cameras can’t be measured.
ATOS is equipped with two cameras that are separated from each other on the left and right, but if both cameras can’t capture the target, the accuracy will be slightly worse.
If the inside of the product has a complicated shape, it may not be possible to shoot without cutting.
Some items can’t be measured depending on the condition or structure of the subject being photographed.
Irradiation from the CCD camera may cause irregular reflections of glossy objects, which may prevent shooting.
We may apply a developer for dye penetrant flaw detection material. Material name: micro check, etc.
It can’t be shouted moving objects such as people or animals, transparent, lace-like, and thin objects less than 5mm.
Higher products may not be measurable.
The height of the camera can only rise to about 2m.
It can be shouted with a product that can be laid sideways, but if you can’t tilt it, can’t shoot the upper part.
3D data
You can choice the type of 3D CAD data according to the application from the shooting data.
Depending on the situation, costs and lead time will be changed. Please contact us for the details.
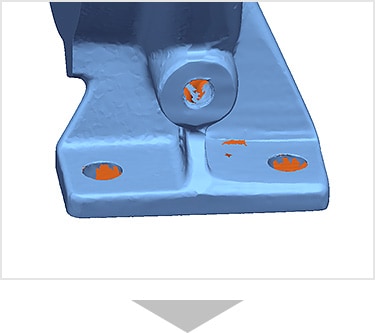
Shooting data
We will provide the data by STL format from the shooting data.
*It isn’t solid data since it is a collection of points.
Example) For analysis, checking the approximate shape
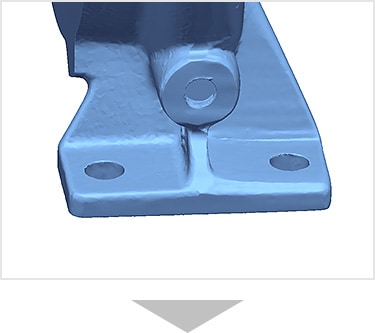
Filling in the blank of STL data
It is a state where the holed part that could not be shouted with the three-dimensional measurement was filled with software.
Example) For output toa 3D printer and analysis
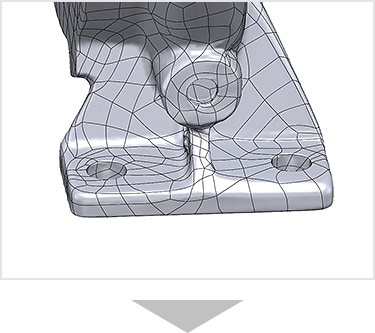
Auto surface
The part that could not be shouted is filled in from the shouted data, and it is automatically made solid by software.
Example) Molded products and cultural assets, etc.

Adjustment of Auto surface and machining surface
It is a state in which the fractional surface is modified from the machining standard and the surface is analyzed.
Example) In the case of you reflect only the machining data.
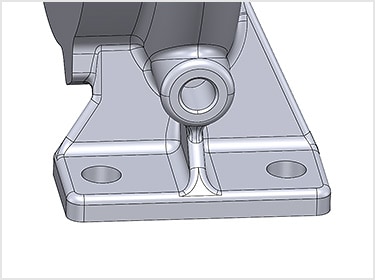
Full Reverse Engineering
3D modeling is performed with the adjustment of all casting surface.
If the size can be defined, the surface is analyzed.
Example) Mass production and remanufacturing of existing industrial.
Q&A
-
What do you use the shooting equipment?
ATOS: CORE 300, CORE500, Compact 5M, Compact 12M, ATOSⅡTriple Scan, ATOSⅢTriple Scan HEXAGON: ROMER Absolute Arm +HP-L20.8 7730SE
HANDY SCANNER: MANTIS F6 SMART
Portrait shooting: 3D Photo scan System
CT SCAN: YXLON CT Compact
-
What is the maximum size you can shoot?It is possible to shoot from 10cm to 10m. Please contact us for the details.
-
Can you shoot the internal structure?We can’t shoot on the area where can’t be seen from outside and deep, however we can shoot anything which can be cut.
Although the CT scan can be taken up to the inside, the target size is up to □30cm and it may not be possible due to the material and wall thickness. -
Can you shoot in the dark?We can shoot in the dark. We will coat Mirror surface, black, and transparent object with powder spay for shooting.
-
Is it possible to shoot a large numbers?We did shout over 300 numbers per month. It is possible to shoot with multiple measuring equipment for short delivery.
-
About 3D date to be created.It is possible to create both auto surface and analysis surface.
Please contact us for the details since the accuracy varies depending on the size and shape of the object to be measured. -
Can you make a drawing by shooting the object?Yes, it is possible. We will ask the surface roughness and machining toleranc
-
What is the type of delivery data?It is STL, OBJ. In case of solid date, it is jges, Parasolid, step, etc.
Drawing date is DXF, DWG. We can also provide the ATOS viewer data.
Please contact us for the details. -
How long does it take to create a data?For shooting, we will just take 1-2days. It takes about 1 to 2 weeks to create the solid data. Please contact us for the details which it depends on the shape and accuracy of the solid to be created.
-
Is there a limit to the areas where business trip for measuring with ATOS?We will visit anywhere in Japan.
